Seed Starting Made Simple: How to Grow Your Garden Indoors Before the Frost Clears
If the Michigan weather has you itching to get your hands in the dirt, you're not alone. April is the perfect time to start your garden indoors—well before the last frost clears. Whether you're a seasoned green thumb or just starting out, seed starting is a simple, satisfying way to kick off the growing season and give your plants a healthy head start.

Why Start Seeds Indoors?
Starting seeds indoors gives you more control over your growing environment, helps save money compared to buying transplants, and lets you grow unique or heirloom varieties not always available in stores. It also means your plants will be ready to go as soon as the weather allows—leading to earlier blooms and harvests.
What You’ll Need
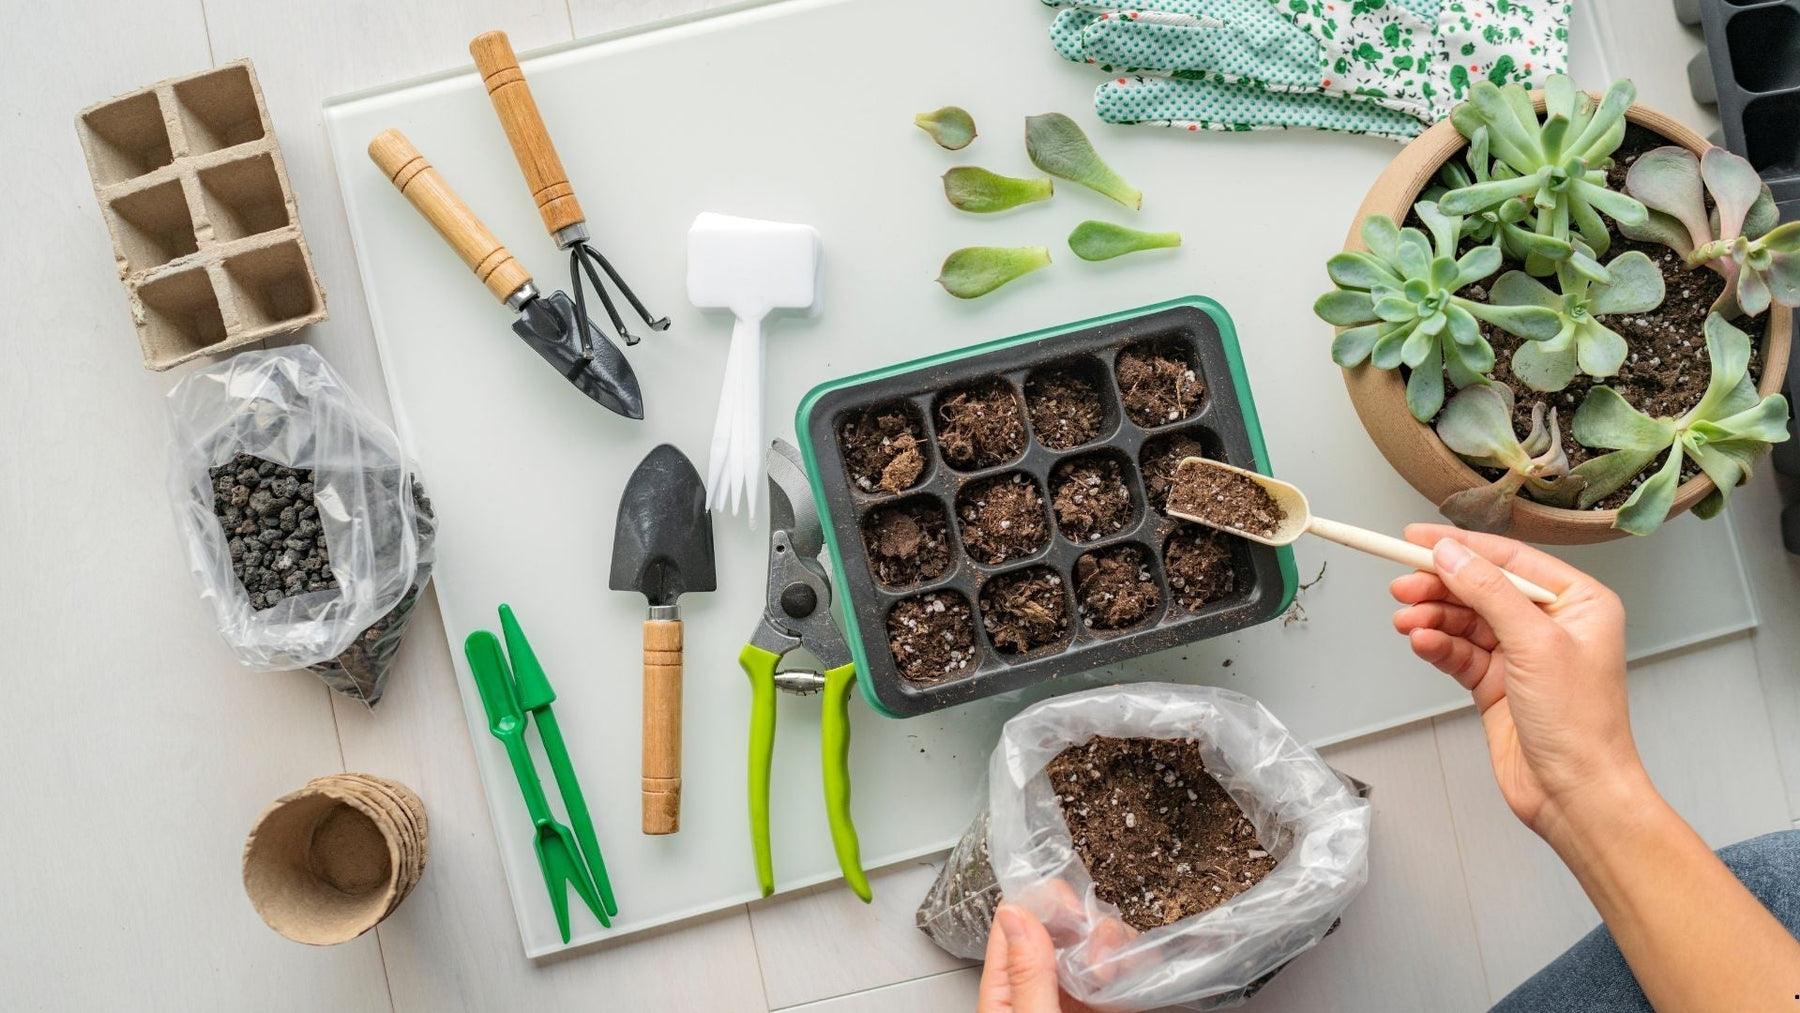
You don’t need fancy equipment to get started. Here’s a simple supply list:
- Seed trays or containers (egg cartons or yogurt cups work in a pinch)
- Seed starting mix (lighter than potting soil, helps with root development)
- Labels (trust us—you’ll forget what you planted)
- Plastic domes or wrap (to keep in humidity while seeds germinate)
- Grow lights or a sunny windowsill
- A spray bottle (gentle watering = happy seedlings)
And of course, seeds! Stick to varieties that thrive in the Monroe, MI climate—think tomatoes, peppers, herbs, broccoli, and marigolds.
Step-by-Step Guide
- Prep Your Containers: Fill trays or pots with damp seed starting mix and gently press it down to remove air pockets.
- Plant the Seeds: Check the seed packet for depth. As a general rule, plant them 2–3 times deeper than the seed's size.
- Water Gently: Mist the soil to keep it evenly moist, not soaked.
- Create a Mini Greenhouse: Cover with plastic wrap or a clear dome to lock in moisture until seeds sprout.
- Add Light: Once seeds sprout, remove the cover and give them 12–16 hours of light each day. If using a window, rotate trays to keep stems straight.
- Thin the Herd: After the first true leaves appear, snip the weaker seedlings at soil level to give stronger ones space to grow.
- Hardening Off Before Transplanting: About a week before moving outdoors, begin introducing your seedlings to outdoor conditions gradually—starting with a few hours a day in indirect sun.
The Reward
Watching your seeds sprout and thrive is one of the most rewarding parts of gardening. With a little prep now, you’ll be setting yourself up for a vibrant, healthy garden come late spring.
Whether you need seed trays, grow lights, or a quick tip from a fellow gardener, Baker’s Ace Hardware in Monroe, MI is here to help. Stop by or give us a call—we’ve got everything you need to start your garden strong this season!
