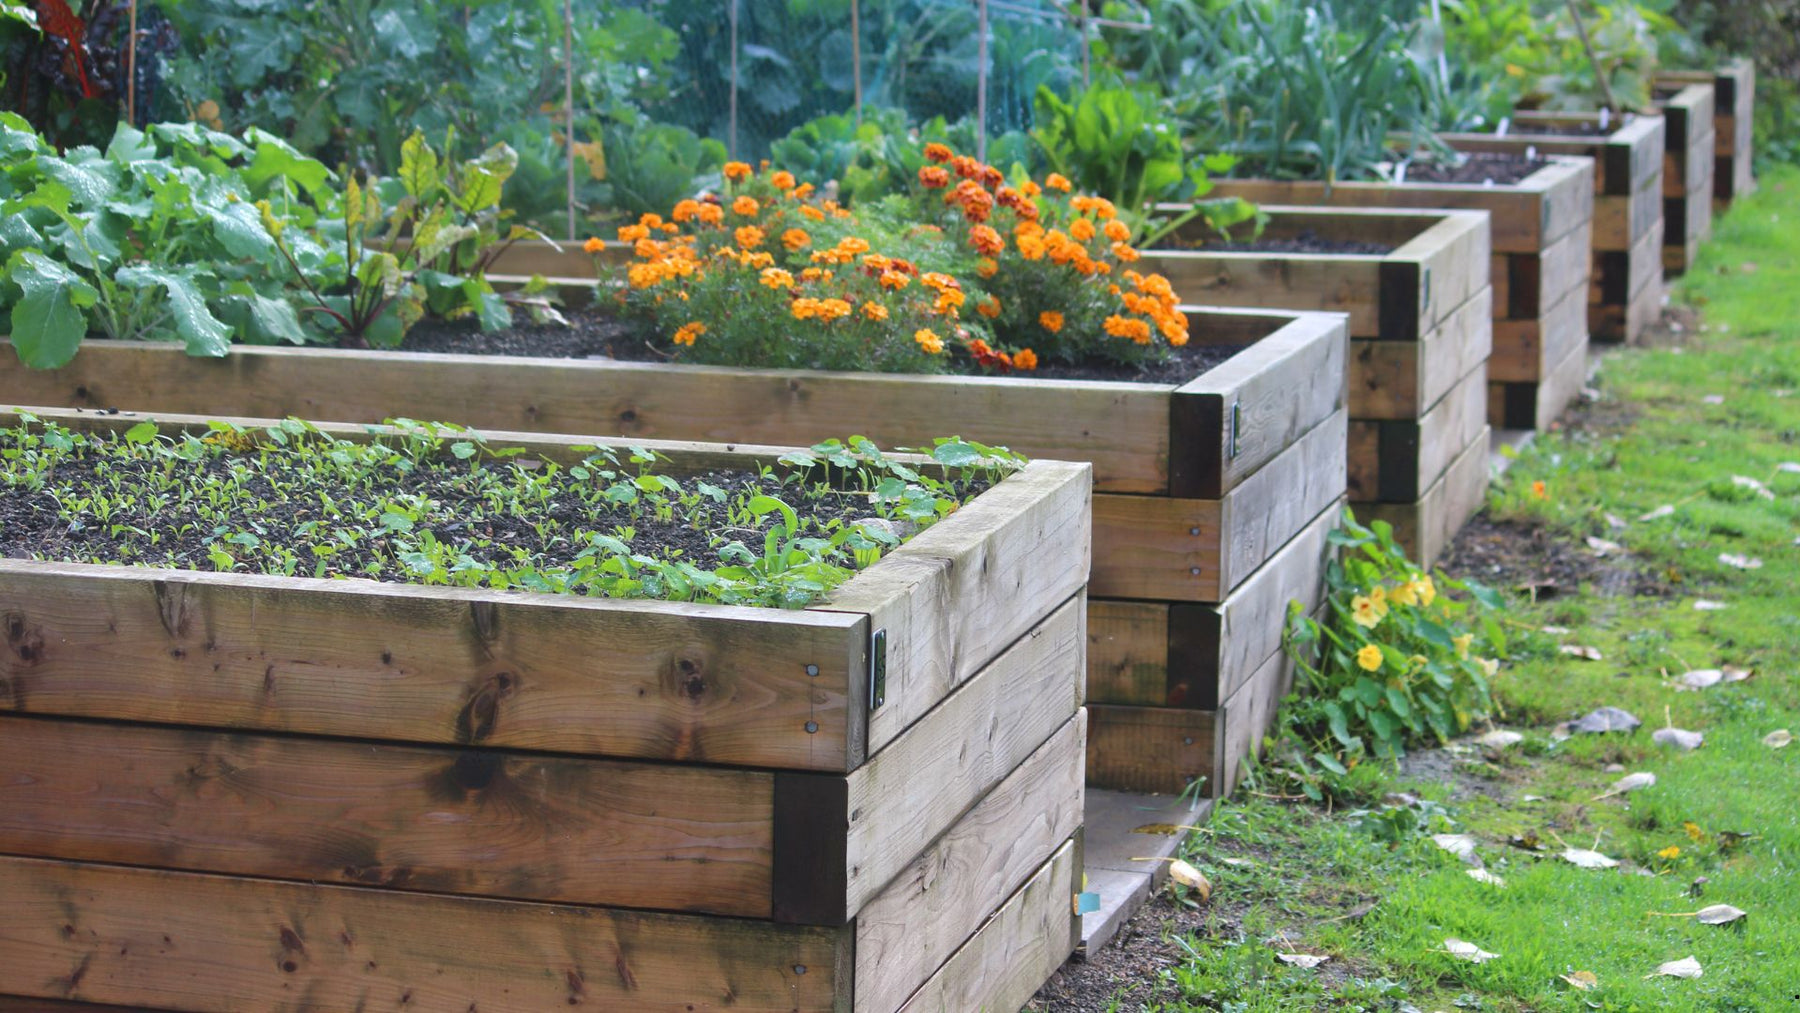
Building a Raised Garden Bed: A Step-by-Step Guide
Creating a raised garden bed is a fantastic way to grow vegetables, herbs, and flowers. It offers numerous benefits such as improved soil drainage, better pest control, and easier access for planting and harvesting. Here's a step-by-step guide to help you build your own raised garden bed using materials available at Baker's Ace hardware in Monroe, MI.

Materials Needed
- Untreated lumber (e.g., cedar, redwood, or pine)
- Wood screws or galvanized nails
- Corner brackets
- Landscape fabric
- Gravel or small stones
- Garden soil and compost
- Measuring tape
- Saw
- Drill or hammer
- Level
- Shovel
- Garden rake
Step-by-Step Instructions
Step 1: Plan your Garden Bed
- Choose a Location: Select a sunny spot in your yard that receives at least 6-8 hours of direct sunlight each day.
- Determine the Size: A common size for a raised bed is 4 feed wide by 8 feet long. This size allows for easy access to the center from all sides. The height can cary, but 12-18 inches is standard.
Step 2: Gather Materials
- Lumber: Purchase untreated lumber that will not leach chemicals into the soil. Cedar and redwood are excellent choices due to their natural resistance to rot.
- Fasteners: Use wood screws or galvanized nails to assemble the frame. Corner brackets can provide extra stability.
Step 3: Cut and Assemble the Lumber
- Measure and Cut: If your lumber is not pre-cut, use a saw to cut the wood to your desired dimensions.
- Assemble the Frame: Lay out the lumber pieces to form a rectangular frame. Use a drill or hammer to attach the pieces together at the corners using wood screws or galvanized nails. For added stability, you can use corner brackets.
Step 4: Prepare the Ground
- Clear the Area: Remove any grass or weeds from the area where the raised bed will be placed.
- Level the ground: Use a shovel and garden rake to level the ground. This will ensure your raised bed sits evenly.
Step 5: Install the Raised Bed
- Place the Frame: Position the assembled frame on the prepared ground.
- Line the Bottom: Lay landscape fabric at the bottom of the raised bed to prevent weeds from growing through. Add a layer of gravel or small stones for drainage.
Step 6: Fill with Soil
- Add Soil and Compost: Fill the raised bed with a mixture of garden soil and compost. This provides a nutrient-rich environment for your plants. Aim for a soil depth of at least 12 inches.
- Level the Soil: Use a garden rake to level the soil surface.
Step 7: Plant Your Garden
- Choose Plants: Select plants that are well-suited for your climate and the amount of sunlight your garden bed receives.
- Planting: Follow the planting instructions for each type of plant. Be sure to space them appropriately to allow for growth.
Additional Tips
- Watering: Raised beds can dry out more quickly than in-ground gardens, so regular watering is essential, especially during hot, dry periods.
- Mulching: Applying a layer of mulch on top of the soil can help retain moisture and suppress weeds.
- Rotation: Rotate crops each season to maintain soil health and reduce the risk of disease and pests.
Building a raised garden bed is a rewarding project that can provide fresh produce and beautiful flowers right in your backyard. For all the materials and tools you need, visit Baker's Ace Hardware in Monroe, MI. Our knowledgeable staff is here to help you with all your home DIY needs!
Happy gardening!
